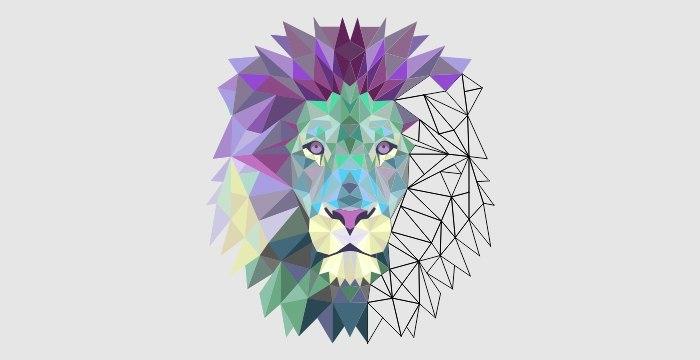
Have you ever wondered about the art that brings numerous triangles or rectangles together to create a beautifully structured image? It is called low-poly art. The art is said to have derived from the 3D models shown in the video games. It is nothing but a digital illustration of vector images and looks cool when those geometrically shaped images are printed on apparel and other fabric.
The digital illustration of animal vector graphics is an interesting art and has gained immense popularity lately. Let us understand how to create a low poly art using Adobe Illustrator. Although the process requires dedicated practice, it is worth investing the time.
STEP 1: IMPORT THE IMAGE
Open a new document in Adobe Illustrator and click on import to open your desired image file. Before proceeding, ensure that the image is free from any watermarks. Then, select Create A New Layer from the Layers tab which will differentiate the low-poly illustration from the source image.
STEP 2: USE THE PEN TOOL TO CREATE GEOMETRIC SHAPES
The Pen tool is used to create geometric shapes. It is always advisable to highlight the image path with a brighter color in order to distinguish it. By setting the opacity to 50%, you will be able to see the image that you are tracing. You can set the transparency level on the right-hand side of the Illustrator. Now, start creating polygonal shapes using the Pen Tool. While doing so, keep Snap to Point and Smart Guides enabled in the drop-down menu of the View tab. This ensures there is no gap between the polygons. Also, you need to make sure not to draw any curves and focus on creating straight lines in order to achieve that low-poly effect. Here are a few tips to bring out a flawless polygonal structure:
- Try to draw more shapes and points as this will give a more complex and detailed view of your illustration.
- Focus on different color sections and draw shapes based on those.
- Avoid creating identical shapes.
- Try to create polygons having not more than five or six sides.
- In areas of detail, it is good to draw small polygons while larger ones can be drawn for other areas.
- Make sure to draw shapes that are closed and attached to the neighboring polygons.
Once you have connected all your shapes, it is time to fill them up with color and this is the most fun part of the low-poly designs. Vector art conversion into a geometrical structure is an amazing experience. To add color to the shapes, select them using the Selection Tool, and clicking Shift+X. To simplify the process of coloring, you can sample the colors from the original image source using the Eyedropper Tool. It can be found on the left-hand side toolbar. First, you will have to select the Eyedropper Tool following with selecting the most prominent background color from the source. If you wish to use your own color combinations, you can manipulate the sliders present under the Color tab present on the right-hand side of the Illustrator program. It is best to avoid using similar colors to each other. To highlight, you can use shades of black or white or any contrasting color.


